How to Clean the Oven at Home Without Harsh Chemicals
If your oven smokes a little every time you preheat it, smells burnt even when there is no food inside, or has a layer of grease that makes the whole kitchen feel less clean, you are not dealing with a rare problem. You are dealing with the way ovens usually get dirty: one spill, then another, then months of heat baking everything into place.
The mistake most people make is starting with scrubbing. That is what turns oven cleaning into a miserable job.
A better way is to soften the grime first, loosen it with a simple reaction, and only then wipe it away. That is what makes this method easier. It uses basic household ingredients, works well for light to moderate buildup, and helps you reset the oven without filling your kitchen with harsh chemical fumes.
If your oven looks bad enough that you have been avoiding opening the door for too long, this is where to start.
The Soften, Lift, Wipe Method
This is the easiest way to think about oven cleaning at home.
Soften the baked-on mess first.
Lift what has loosened.
Wipe the residue away in layers.
That order matters more than people realize. Most oven grime is not difficult because it is impossible to remove. It is difficult because it has been heated over and over until it hardens into a thin, greasy crust. If you try to attack it too early, you end up scrubbing for far longer than necessary.
What You’ll Need
- baking soda
- warm water
- white vinegar
- dish soap
- 2 clean spray bottles
- microfiber cloths or soft sponges
- a non-abrasive scrub brush or sponge
- a plastic scraper or an old plastic card
- rubber gloves, if you want them
Make sure the oven is completely cool before you begin.
Step 1: Empty the Oven First
Take out everything inside:
- oven racks
- pizza stones
- trays
- thermometers
- anything stored inside
Then use a dry cloth or paper towel to remove loose crumbs, burnt flakes, and debris from the bottom.
This seems small, but it changes the whole clean. Dry crumbs are easy to lift now. Once they get wet, they smear into a gritty paste that makes the inside look worse before it gets better.
Step 2: Make a Light Baking Soda Spray
A lot of oven-cleaning guides tell you to make a thick paste. That can work, but a spray is easier to spread and much less messy for regular home cleaning.
Mix:
- 2 tablespoons baking soda
- 2 cups warm water
Stir until mostly combined, then pour it into a spray bottle.
Add a small squirt of dish soap if the oven has obvious grease buildup.
The goal here is not to coat the oven in something heavy. It is to dampen the grime enough that it starts softening instead of clinging to the surface.
Step 3: Spray the Oven Interior Generously
Spray the inside of the oven, including:
- the side walls
- the back wall
- the oven floor
- the inside of the door
Do not spray directly onto heating elements, gas openings, or vents.
Pay extra attention to the oven floor and the corners near the door. Those areas usually collect the worst buildup because drips settle there and get reheated every time the oven runs.
Let the spray sit for 30 to 60 minutes.
If your oven is especially dirty, spray those heavy areas a second time halfway through so they stay damp.
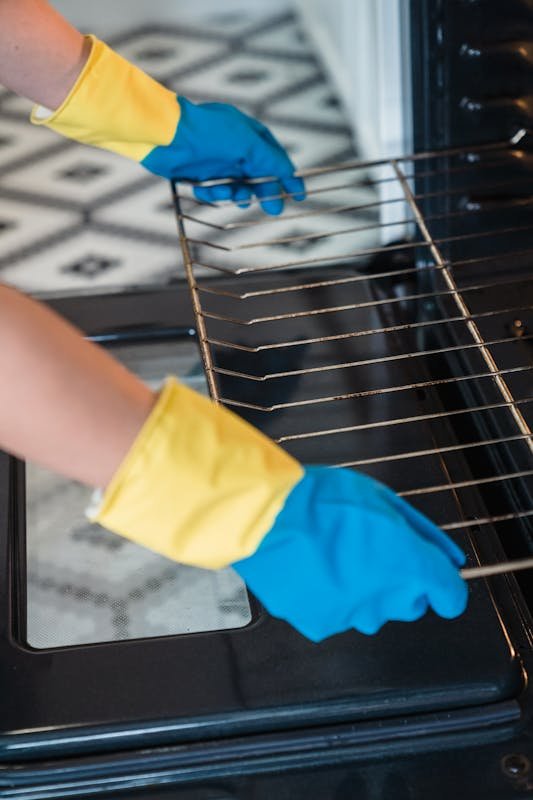
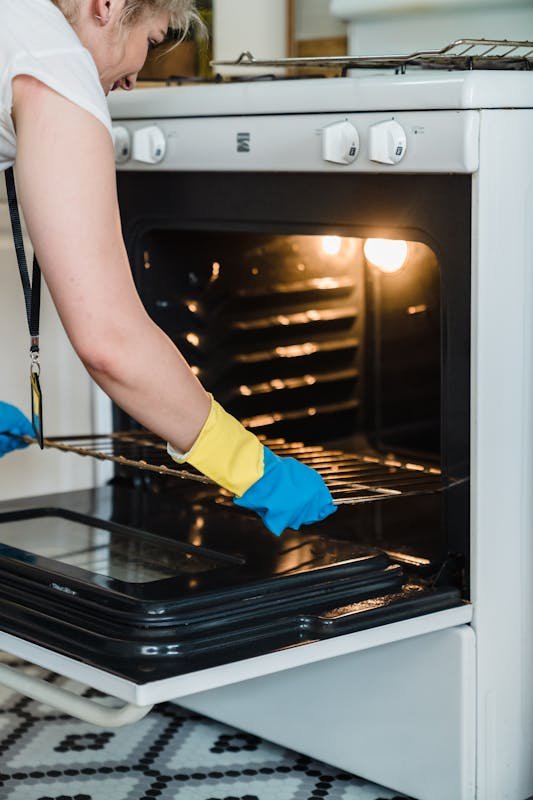
Step 4: Soak the Oven Racks Separately
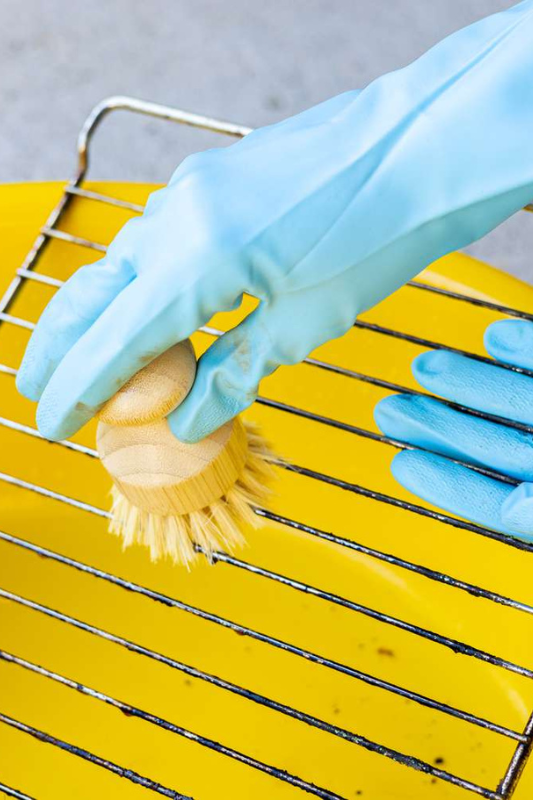
While the oven interior is resting, clean the racks.
Fill a bathtub, utility sink, or large basin with hot water. Add:
- a few squirts of dish soap
- about 1/2 cup baking soda
Let the racks soak for 2 to 4 hours. If they are heavily coated, leave them overnight.
Then scrub with a non-abrasive sponge or brush, rinse well, and leave them to dry.
This is one of those spots where people often get impatient. If the racks still feel rough after a quick scrub, they usually need more soak time, not more force.
Step 5: Spray Vinegar to Loosen the Residue
Fill the second spray bottle with plain white vinegar.
Spray it over the areas you treated with the baking soda mixture. You will see a gentle fizzing reaction. That light reaction helps loosen residue and makes greasy patches easier to lift.
Let it sit for another 10 to 15 minutes.
This is the part that makes the cleaning feel less stuck. Instead of fighting the grime, you are letting it break down enough to move.
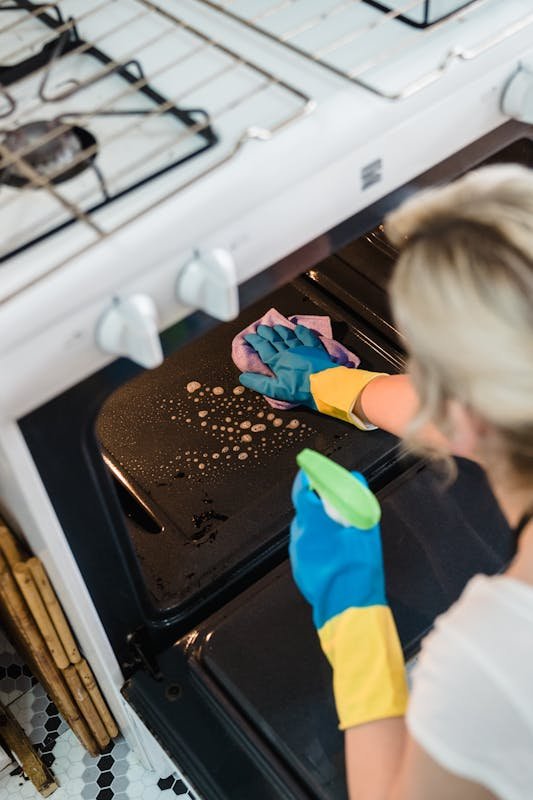
Step 6: Wipe from Top to Bottom
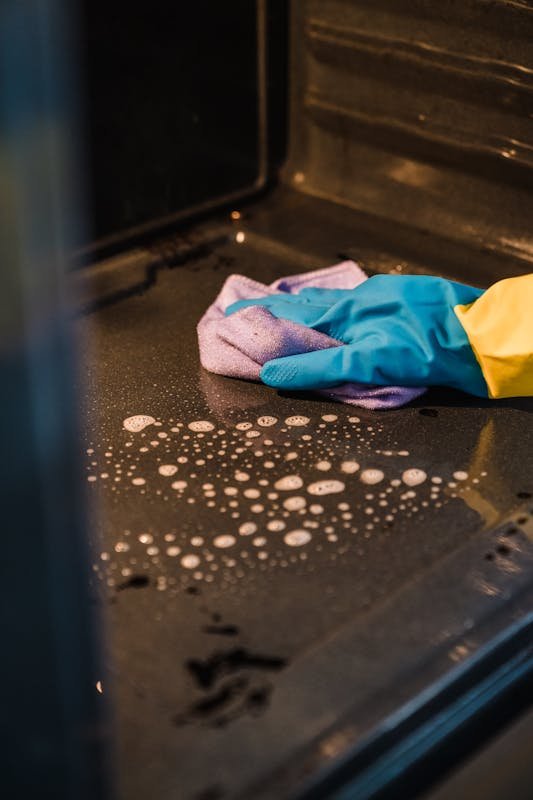
Use a damp microfiber cloth or soft sponge to wipe the oven interior clean.
Start at the top and work downward. That way, any loosened grime falls onto areas you have not cleaned yet.
As you wipe:
- Rinse your clothes often
- switch to a clean one if it gets too greasy
- Do not push dirty residue around once the cloth is saturated
For stubborn spots, use a plastic scraper and lift gently. Do not scrape hard. If a spot refuses to come off, it usually needs more soaking, not more pressure.
A lot of oven cleaning goes wrong here. People assume resistance means they should scrub harder. Usually, it just means the grease has not softened enough yet.
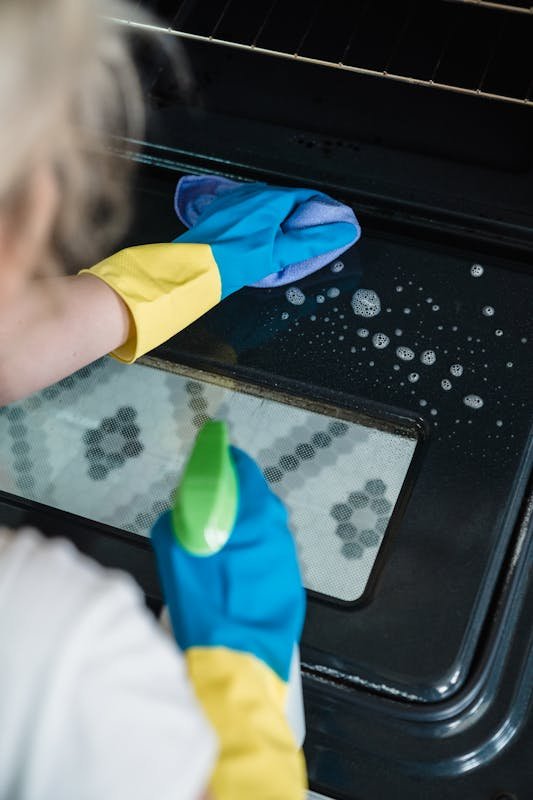
Step 7: Clean the Oven Door Glass Properly
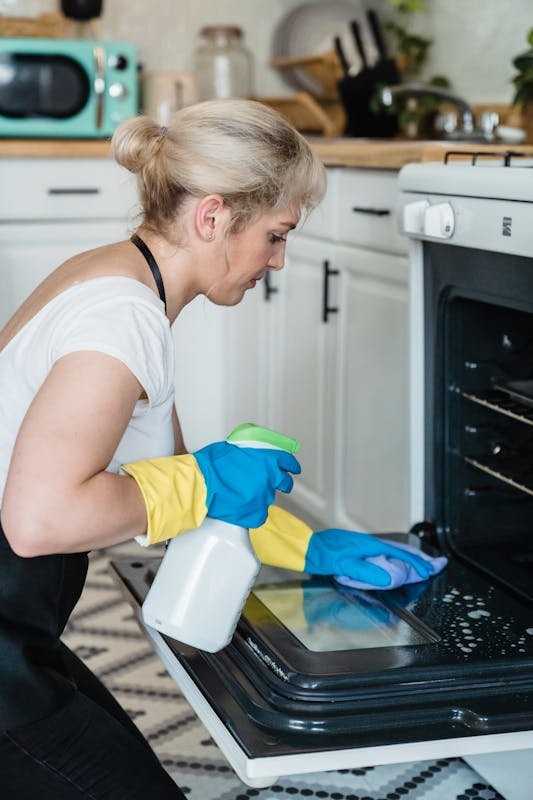
Even when the inside is cleaner, a cloudy oven door can still make the whole appliance look dirty.
Spray the inside of the glass with the baking soda mixture and let it sit for 15 to 20 minutes.
Wipe it with a damp microfiber cloth. If there is still haze or grease, spray a little vinegar and buff it dry with a fresh cloth.
If there is stuck-on residue around the edges, use the plastic scraper carefully.
Glass is where buildup becomes most visible. Even a modest improvement here makes the whole oven look newer.
Step 8: Do One Final Rinse Wipe
Once the grime is gone, wipe the entire interior again with a fresh damp cloth to remove any leftover baking soda or vinegar residue.
Dry with a clean towel, or leave the oven open until fully dry.
Then return the racks and accessories.
At this stage, the oven should feel reset, not just less dirty. That difference matters. A real clean changes how the whole kitchen feels, especially when the oven was one of the last grimy-looking spots in the room.
If Your Oven Is Still Dirty After One Round
This method works well for light to moderate buildup, but some ovens need a second pass.
That is especially true if:
- Old spills have been baked on for months
- grease has collected in layers
- The bottom of the oven feels sticky even after wiping
Repeat the spray, rest, and wipe process only in the areas that still look dark or greasy.
Do not assume you need a harsher cleaner just because the oven is not perfect after one round. Some buildup lifts in stages.
Common Mistakes That Make Oven Cleaning Harder
Starting with scrubbing
This is the biggest one. If the grime has not softened, scrubbing just wastes effort.
Using abrasive tools
Steel wool or rough scrubbers can scratch oven surfaces and damage the glass.
Ignoring the oven floor
The bottom usually holds the worst spills, and it is often the source of burnt smells during preheating.
Spraying the wrong parts
Keep the mixture off heating elements, vents, and gas openings.
Waiting too long between cleans
One neglected spill turns into a dark, baked-on patch surprisingly fast. Then the next spill sticks to that, and the problem compounds.
How Often Should You Clean Your Oven?
There is no perfect schedule, but a simple rhythm works well:
- Wipe fresh spills as soon as the oven cools
- Do a light interior wipe every few weeks if you cook often
- Do a deeper clean every few months
If you roast vegetables, bake casseroles, or cook anything likely to bubble over, your oven will need cleaning sooner.
The goal is not perfection. It is preventing buildup from reaching the point where every clean becomes a full project.
Best for These Situations
This method is a good fit if:
- Your oven is greasy but not destroyed
- You want to avoid harsh chemical smells
- You prefer using ingredients you already have
- You want a practical reset, not an aggressive deep-strip clean
If your oven has years of heavy carbon buildup, you may still need a stronger product or more than one session. But for most everyday home ovens, this is a realistic place to start.
A Few Smart Ways to Keep It Cleaner Longer
Wipe spills early
A five-second wipe later saves a full cleaning session later.
Put messy dishes on a tray
If something might bubble over, place it on a baking sheet first.
Do not let grease become permanent
The oven usually gets “suddenly disgusting” very slowly. It only feels sudden because the buildup has been darkening in layers.
Freshen the oven after cleaning
For a cleaner scent, place a small oven-safe bowl of water with lemon slices inside and heat at 200°F for about 20 minutes.
Final Thoughts
Cleaning the oven at home does not have to mean choking on strong fumes or spending an hour scrubbing burnt grease that will not budge. The easier approach is also the smarter one: soften the mess, lift what loosens, and wipe it away in layers.
That is what makes this method work. It is simple, low-cost, and realistic for normal kitchens where spills happen, cleaning gets postponed, and the oven ends up dirtier than anyone meant it to.
If your oven has been looking grimy, smelling burnt, or making the whole kitchen feel less fresh, this is one of the easiest ways to make it look clean and usable again.