
Easy DIY Fabric Lamp Makeover Using Leftover Fabric
Do you have a plain lamp that could use a little more personality? This DIY fabric lamp makeover is an affordable way to transform an ordinary lamp using leftover fabric. With a hot glue gun, a few fabric strips, and a little patience, you can add colour, texture, and warmth without buying a new lamp.
For this budget-friendly home decor project, I started with a basic white lamp, compared two fabric options, and selected the pattern that best complemented its curved shape. I then attached the fabric in narrow strips to create a warmer, more decorative finish. Follow this step-by-step fabric lamp tutorial to see how I completed the makeover at home.
What You’ll Need
For this DIY fabric lamp makeover, you will need:
- A plain lamp
- Leftover fabric
- Fabric scissors
- A hot glue gun
- Hot glue sticks
- An iron
- An ironing surface
- A low-heat LED bulb
You can also use a measuring tape or ruler to help cut the fabric strips evenly, although this is optional.
Safety tip: Unplug the lamp before starting, and keep the fabric away from the bulb, socket, switch, cord connections, and ventilation openings.
How to Complete This DIY Fabric Lamp Makeover
Step 1: Clean and Prepare the Lamp
Start by unplugging the lamp and removing any dust from the surface with a dry or slightly damp cloth. Allow it to dry completely before applying glue.
Take a moment to inspect the lamp’s shape. Because this lamp has a curved, ribbed surface, covering it with one large piece of fabric would likely create folds and bubbles. Narrow fabric strips are a better option because they can follow the shape more easily.
Also identify the areas that must remain uncovered, including the bulb opening, switch, cord connection, and any ventilation spaces.
Step 2: Compare Your Fabric Options
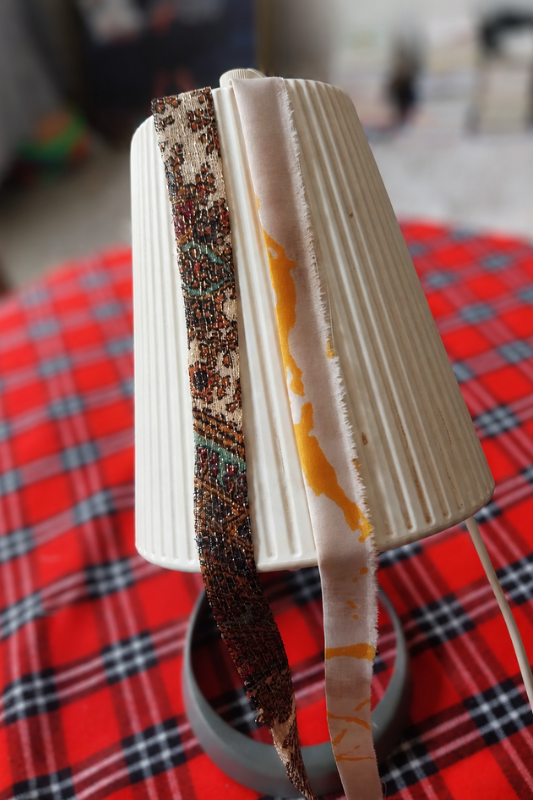
Before cutting anything, place each fabric option against the lamp and view it from different angles. This gives you a better idea of how the colours, scale of the pattern, and texture will look once the lamp is covered.
I compared two leftover fabrics and selected the darker patterned option. Its brown, cream, red, and green details created a warmer contrast against the white lamp and gave the finished piece more character.
For the best results, choose a fabric that is:
- Lightweight enough to wrap around curves
- Thick enough to conceal glue underneath
- Easy to cut without excessive fraying
- Flexible but not overly stretchy
- Suitable for the colours already used in your room
Avoid very bulky upholstery fabric because it may create raised seams and make the lamp look uneven.
Step 3: Measure and Plan the Fabric Strips
Measure the lamp from the top edge to the bottom edge, following the curve rather than measuring in a straight line through the air. Add a small allowance at each end so you have enough fabric to trim neatly later.
Next, decide how wide the strips should be. Narrower strips are easier to control on a rounded or tapered lamp, while wider strips cover the surface faster but may wrinkle more easily.
Before cutting all the fabric, prepare one test strip and place it against the lamp. Check that it:
- Reaches from top to bottom
- Sits flat against the ribs
- Does not twist along the curve
- Leaves enough allowance for finishing the edges
This test prevents you from cutting several strips to the wrong size. I did not measure every strip precisely; instead, I cut one test strip and used it as a guide for the remaining pieces.
Step 4: Iron, Cut, and Fold the Fabric
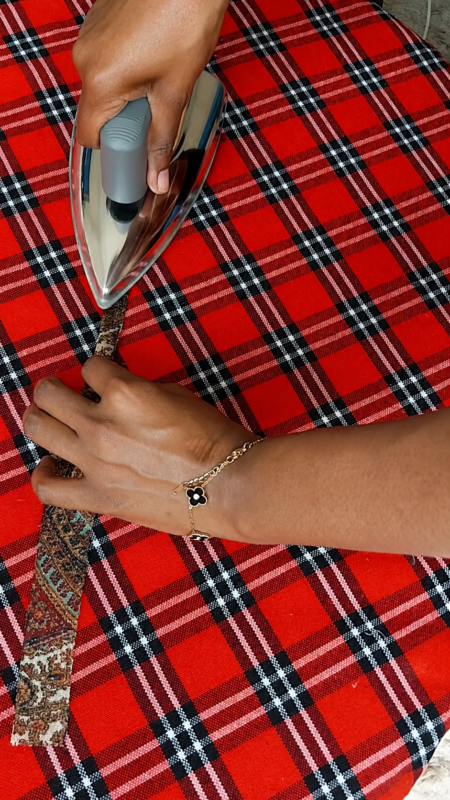
Iron the selected fabric before cutting it. Removing wrinkles helps you make straighter cuts and produces a cleaner finish once the fabric is glued to the lamp.
Cut the fabric into strips of a similar width, following the direction of the pattern where possible. Keeping the pattern direction consistent will make the finished lamp look more intentional.
To hide frayed edges, fold the long sides of each strip slightly inward and press the folds with an iron. This creates a neat finished edge and reduces the number of loose threads visible between the strips.
Do not make the folds too wide, as this can make the strips bulky and difficult to wrap.
Step 5: Attach the First Strip as Your Guide
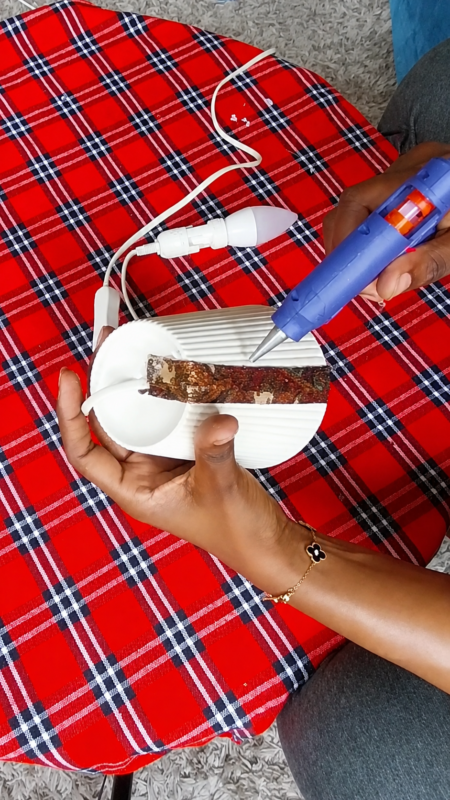
The first strip determines how straight the rest of the design will be, so position it carefully before applying any glue.
Choose a less visible section of the lamp—preferably the back—as your starting point. Dry-fit the strip from top to bottom and check that it follows the lamp’s shape without pulling to one side.
Apply a thin line of hot glue near the top and secure the first end. Once it is fixed, work downward in small sections:
- Apply a short line of glue.
- Gently pull the fabric flat.
- Press it against the lamp.
- Allow the glue to set before moving to the next section.
Using too much glue may create visible bumps or seep through lightweight fabric.
Step 6: Work Around the Lamp in Sections
Use the first strip as a guide and continue adding the remaining pieces around the lamp.
Keep the strips close enough to cover the white surface, but avoid creating thick overlaps. A very slight overlap can hide gaps, while too much overlap may produce raised ridges.
As you work, regularly turn the lamp and check it from a distance. This will help you spot:
- Uneven strip spacing
- Fabric pulling diagonally
- Gaps showing the original lamp
- Sections where the pattern changes direction
- Glue lumps that need correcting before they set
Do not wait until the lamp is fully covered to check the alignment. Small errors become more difficult to correct later.
Step 7: Fit the Final Strip to the Remaining Gap
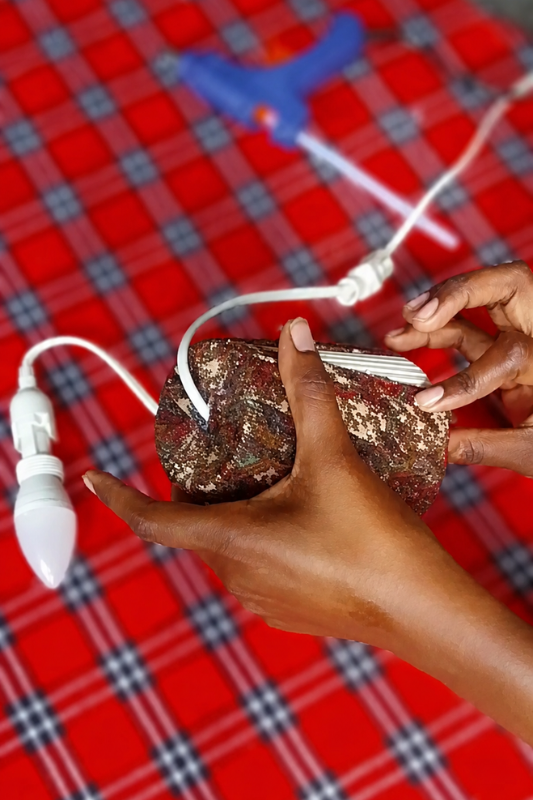
When only a small section of the white lamp remains visible, do not automatically use a full-width strip. Measure the remaining space first.
Trim the final piece so it fits the gap neatly, then fold and press its raw edges before attaching it. Position the final seam at the back of the lamp whenever possible so it is less noticeable when displayed.
A slight overlap between the first and final strips will prevent a thin white line from showing through.
Step 8: Neaten the Top and Bottom Edges
Once the lamp is covered, inspect the top and bottom for excess fabric, loose threads, uneven ends, and visible glue.
Trim the fabric carefully so the edges follow the lamp’s original shape. Secure any loose sections with very small dots of glue rather than applying another full line.
Remove visible glue strings and allow the lamp to cool completely before reconnecting it.
For safety, keep all fabric away from the bulb, socket, switch, electrical connections, and ventilation openings. Use a low-heat LED bulb rather than a bulb that becomes very hot.
Step 9: Reassemble the Lamp
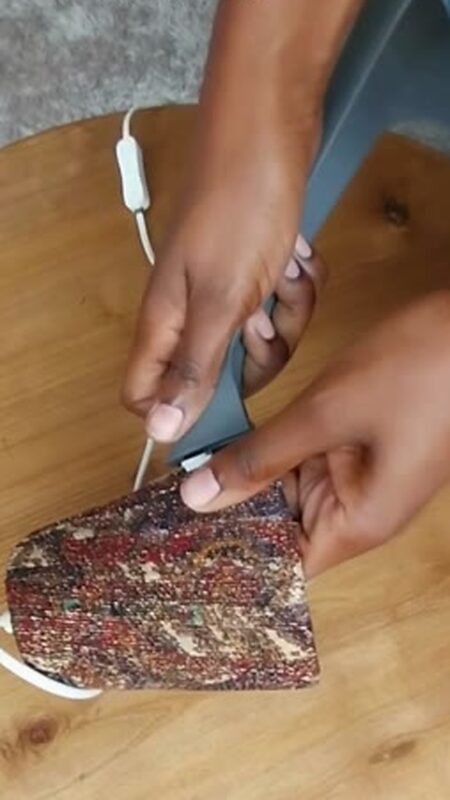
Once the glue has cooled completely, carefully reassemble the lamp by returning the covered section to its original position and reconnecting the parts that were removed before the makeover.
Make sure the lamp is sitting securely on its base and that the cord, bulb holder, switch, and other electrical components have not been trapped or covered by fabric.
Before switching it on, check that:
- The fabric is firmly attached
- No loose edges are hanging near the bulb
- The cord is positioned correctly
- The lamp is stable on its base
- The bulb opening and ventilation areas remain uncovered
Use a low-heat LED bulb to reduce the amount of heat produced inside the lamp.
Step 10: Set Up and Style the Finished Lamp
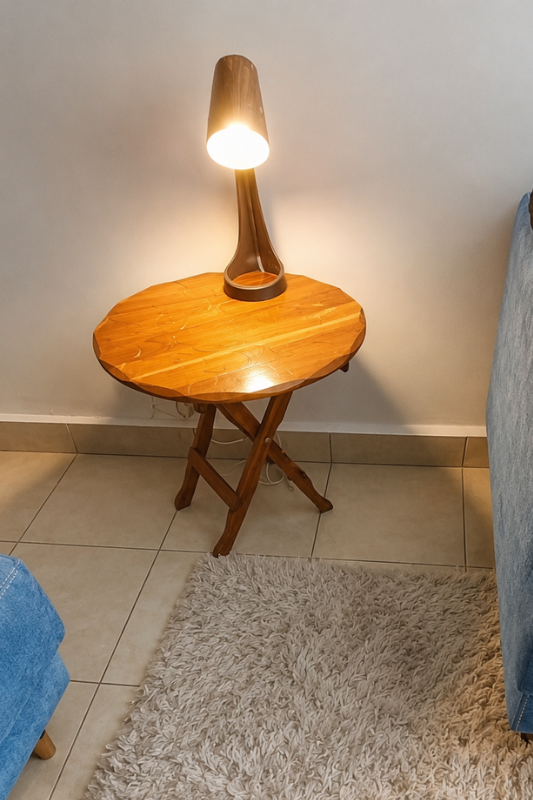
After reassembling the lamp, place it in the area where you plan to use it and switch it on to see the finished result.
I styled the completed DIY fabric lamp makeover on a wooden side table beside the sofa. The patterned fabric added warmth, colour, and texture to the space while making the formerly plain lamp feel more decorative and personalised.
Keep the styling around the lamp simple so the new fabric design remains the main feature. You could pair it with:
- A small decorative tray
- A stack of books
- A candle
- A small plant
- A simple ceramic ornament
Avoid placing flammable decorations too close to the bulb or lamp opening.
The Finished DIY Fabric Lamp Makeover
The patterned fabric transformed the plain white lamp into a warmer and more decorative piece. It now has more colour, texture, and character while still retaining its original shape.
This simple budget-friendly home decor project is a great way to reuse leftover fabric and update an old lamp without purchasing a new one. The design can also be customised using neutral linen, floral prints, bold patterns, or fabric that matches your existing decor.
Tips for a Neater Fabric Lamp Makeover
Use lightweight fabric because thick material may be difficult to wrap around curved surfaces. Apply glue in small amounts to avoid visible lumps, and keep checking the fabric placement as you work.
Most importantly, use a low-heat LED bulb and ensure that the fabric does not touch the bulb, socket, switches, cords, or ventilation openings.